|
Found the cutest (!) decorations for Halloween at the Ohoh blog. Paper silhouettes you just print off and cover your candles or vases with candles to make a beautiful glowing Halloween display. Photos, easy instructions and free downloads for personal use are included. Doing this!!!!! 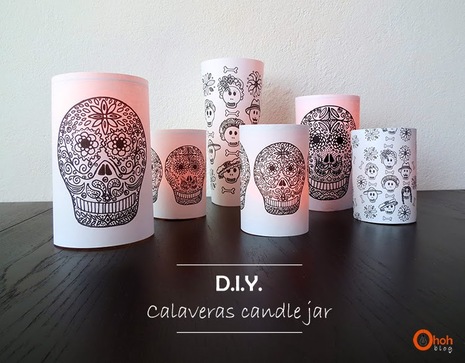
0 Comments
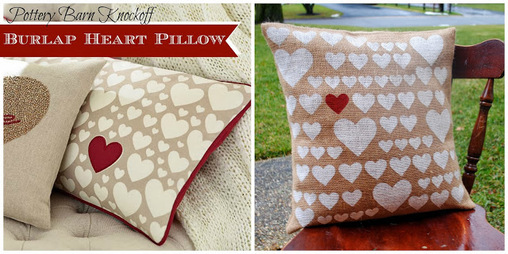 Pottery Barn Knockoff pillow. Pottery Barn Knockoff pillow. I absolutely LOVE <3 this heart stenciled burlap pillow by 2IY, A Blog by 2 Sisters. It's a perfect DIY project, just in time for Valentines Day! All of the instructions for making this simple and easy project are on their blog, with step by step photos.
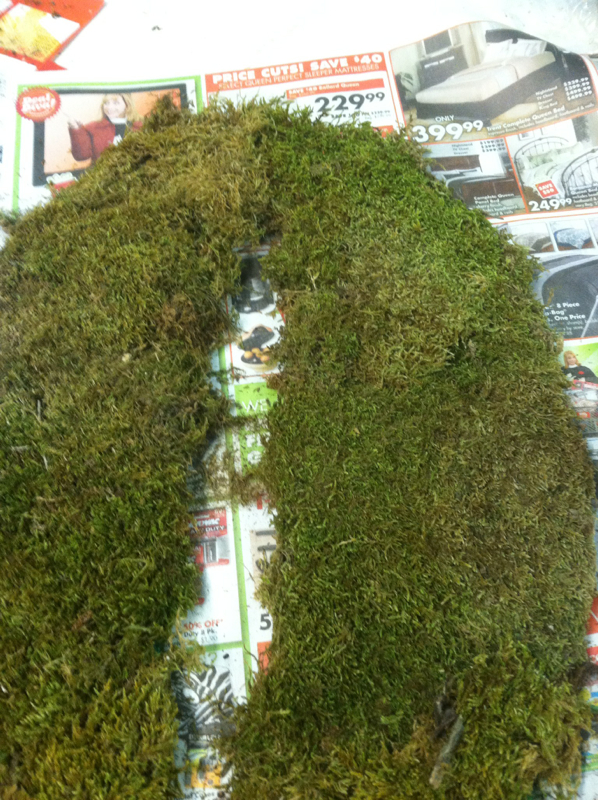
Happy DIYing! This project's inspiration was drawn from the Uncommon Designs Blog which took inspiration from the Garnet Hill catalog. I love how my project turned out. I used loose sheet moss rather than what was used in UD's example because that's what I had on hand at the shop. I think the rough moss gives a more rustic feel to the lettering, which matches the other decor I chose for the porch. The "J" is crooked in this photo, and I definitely recommend using the Command adhesive Velcro hangers as used on the Uncommon Designs' blog. The snow was starting to fall as I took this photo, so the "J" will be straightened soon, once the weather improves! Command Adhesive Velcro Hangers 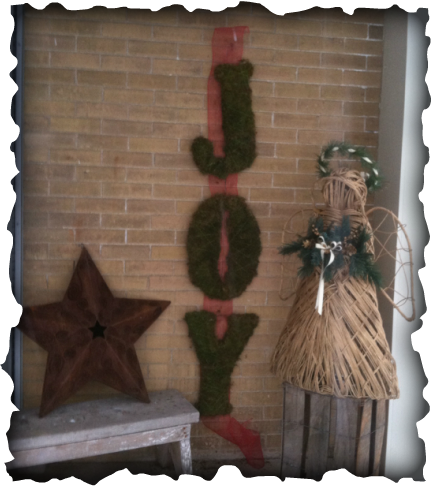
This is the sleeker design done by Uncommon Designs, using sheet moss which is attached to a fabric backing and cut out with scissors. 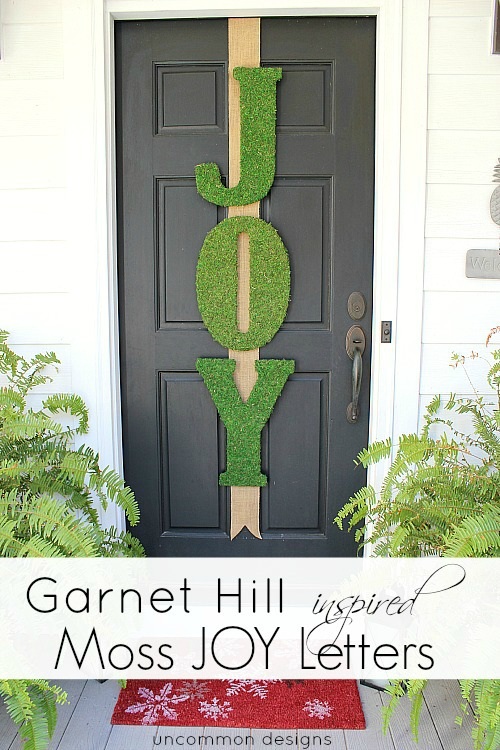
Supplies:
Step One I used the DecoArts acrylic paint with the sponge brush and painted all sides of the letters. 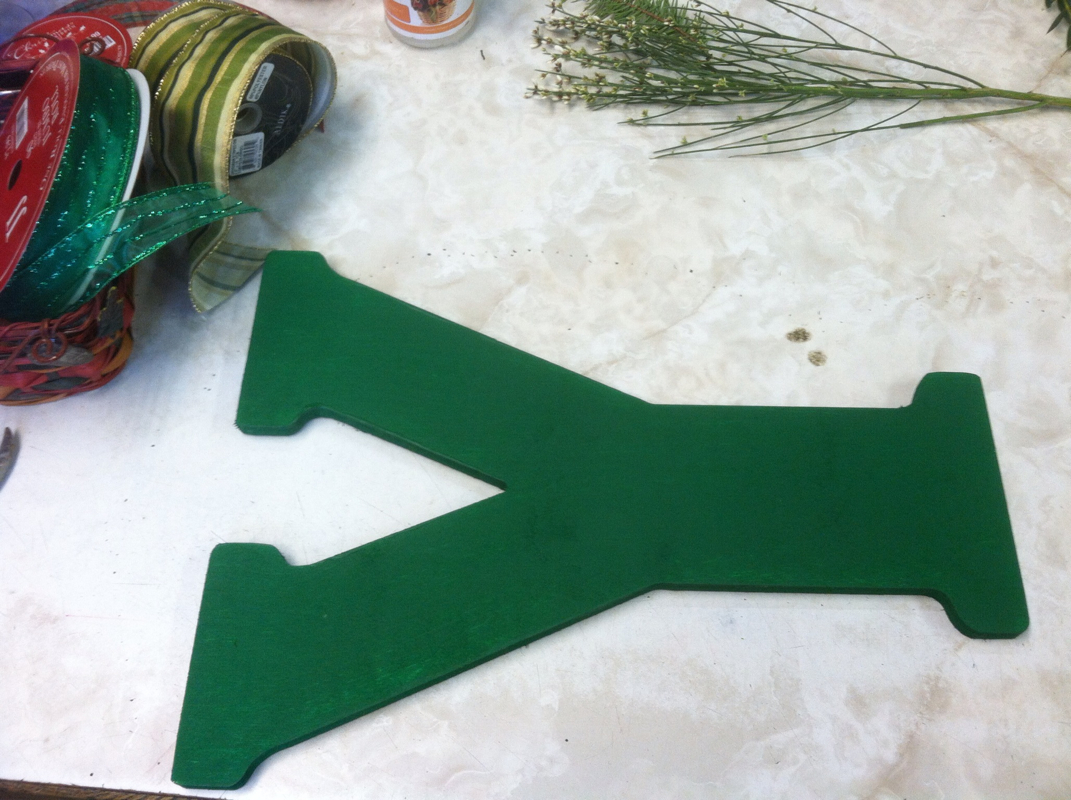
Step Two Following the instructions on my spray adhesive, I sprayed the surface of the letter and the back of the moss. I let each item sit for 30 seconds to 1 minute to encourage the adhesive to get really tacky/sticky. Then I pieced the moss together until it covered all surfaces. I use Tack 2000 for just about any craft project (at home or in the store) needing spray adhesive. 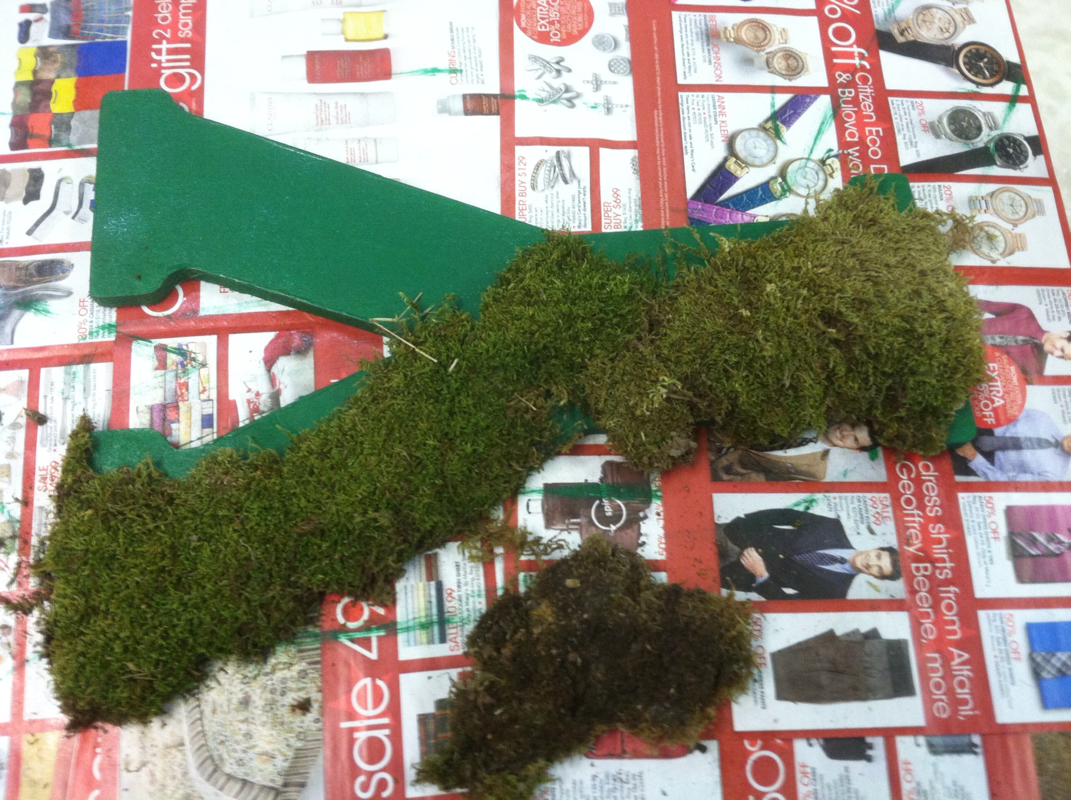
Step Three This is where I used my own flare for the project. This bouillion wire is decorative and functional. I used it to bind all of the moss together, and to sparkle and bling when the light reflects off of it. 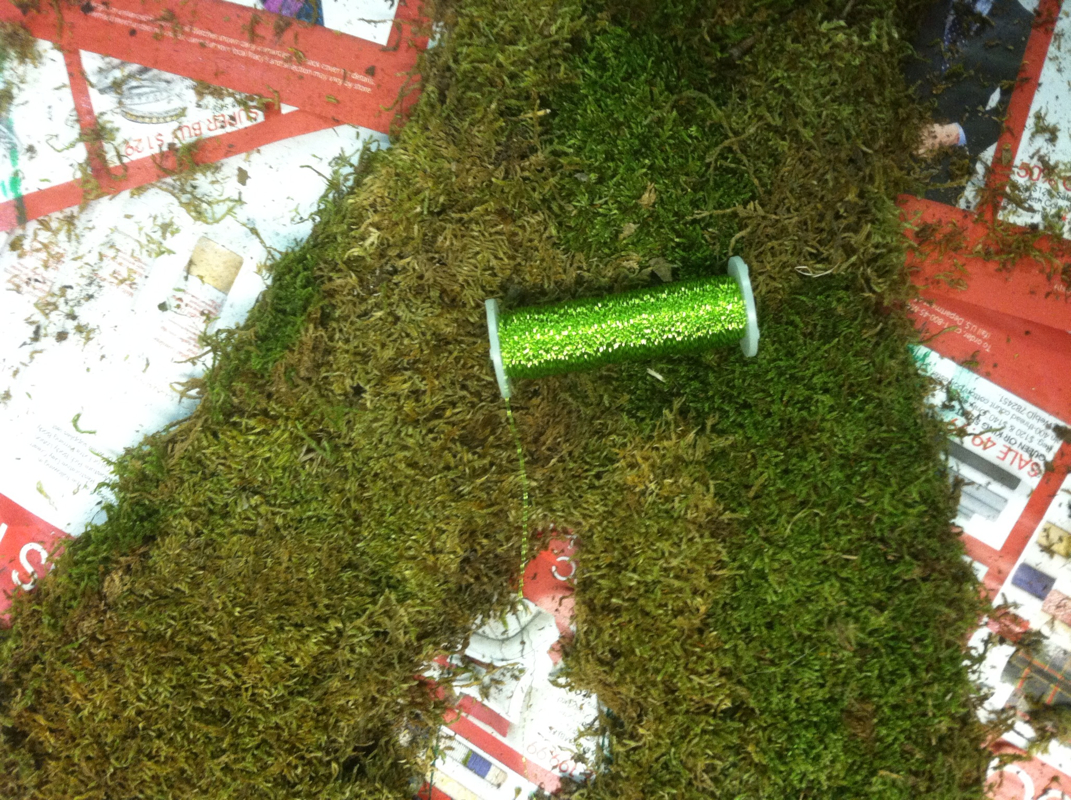
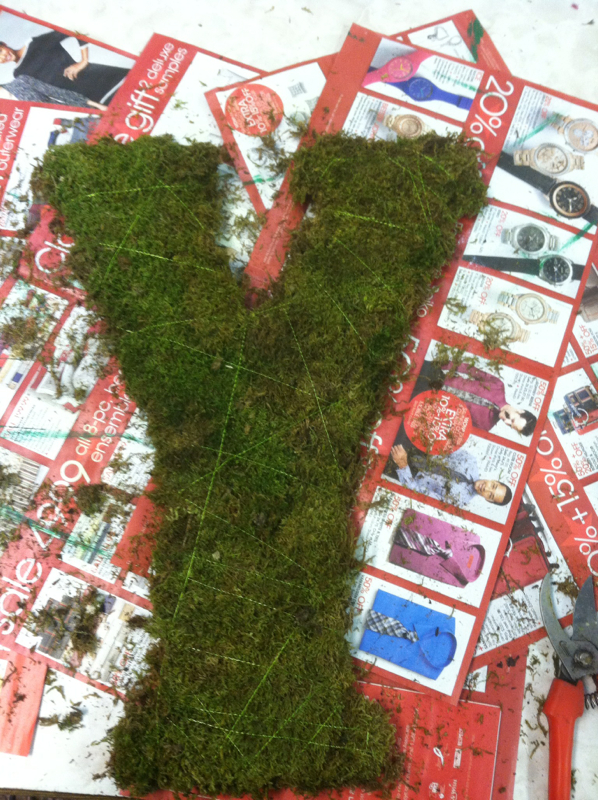
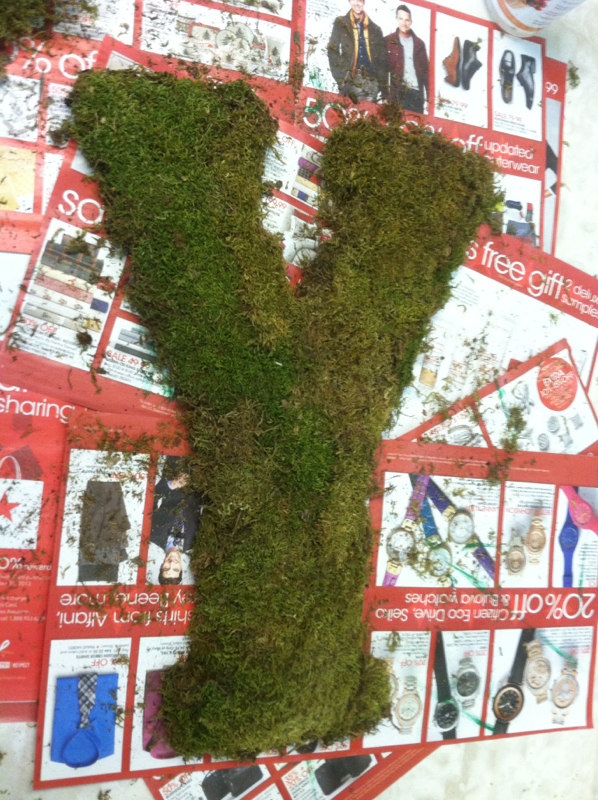
Step Four I decided the moss was too brown in places, so I hit it with a little Fresh Green Just For Flowers from Design Master. The color turned out just right! This is the paint color of the century as far as my flower shop goes, I absolutely love it. And here's a tip: use Fresh Green paint to liven up the colors on your silk flowers. It sounds crazy, right. Just try it. If you have some tired old silks, touch them up with the Fresh Green, you'll thank me later! 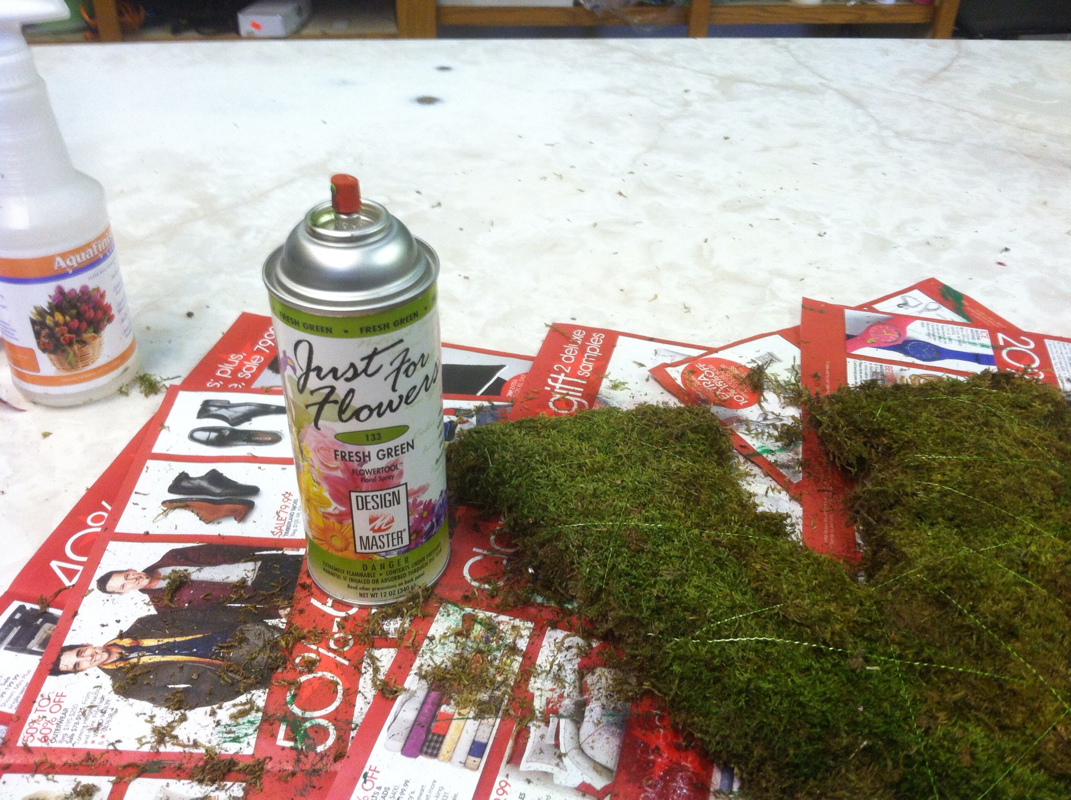
Step Five Since I used the loose moss, I wanted to make extra sure it would stick together, so I sprayed with Dresden Clear Glaze. 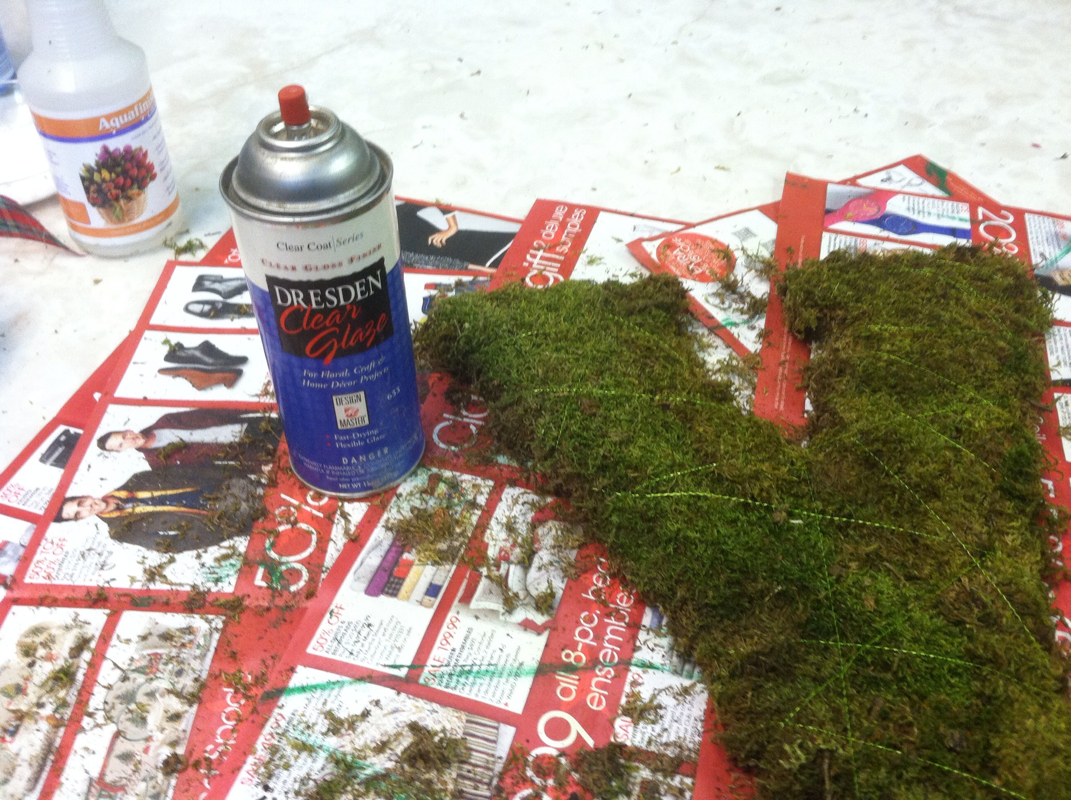

Step Six Since I have plenty of florist's wire on hand, that's what I used to hook all my lettering together. 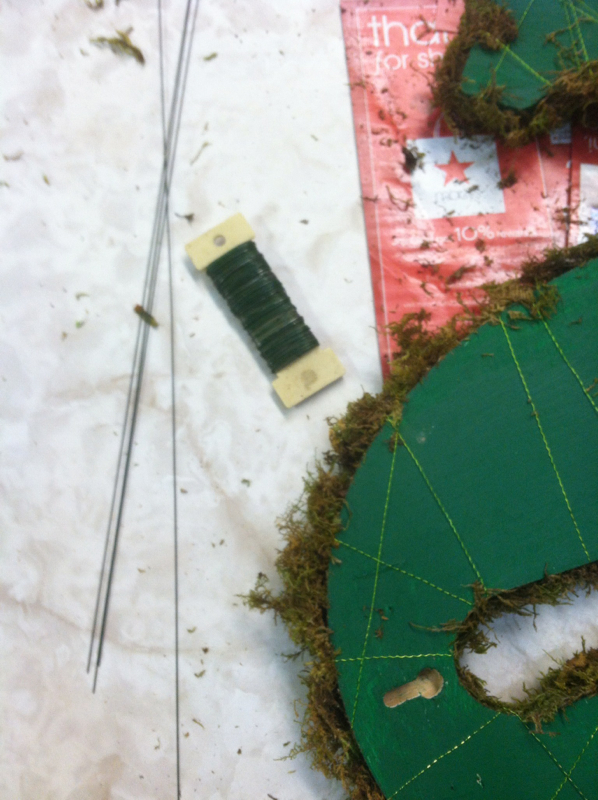
You can thread the wire underneath of the moss on the front side, so that it doesn't show. 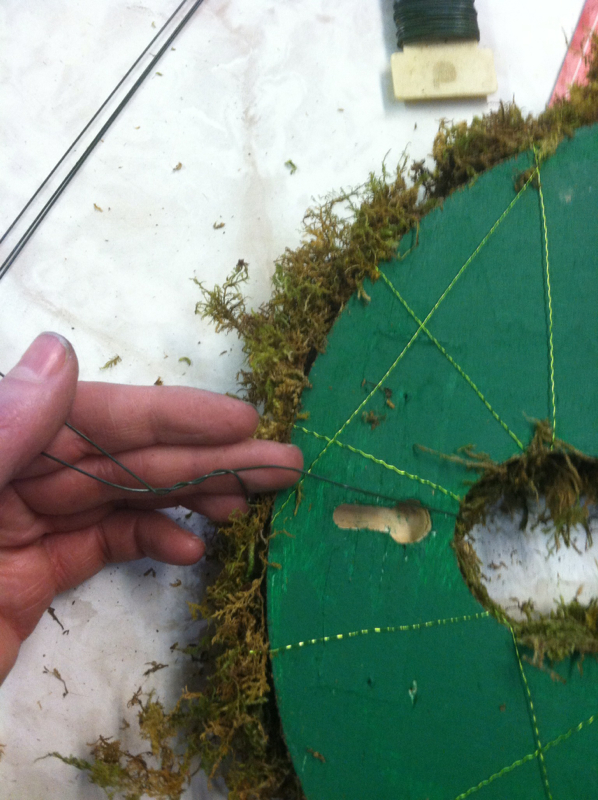
My letters happened to come with these screws in the back of them so they could hang them in the store display. If yours don't come this way, use little screw hooks and suggested by the Uncommon Designs blog. 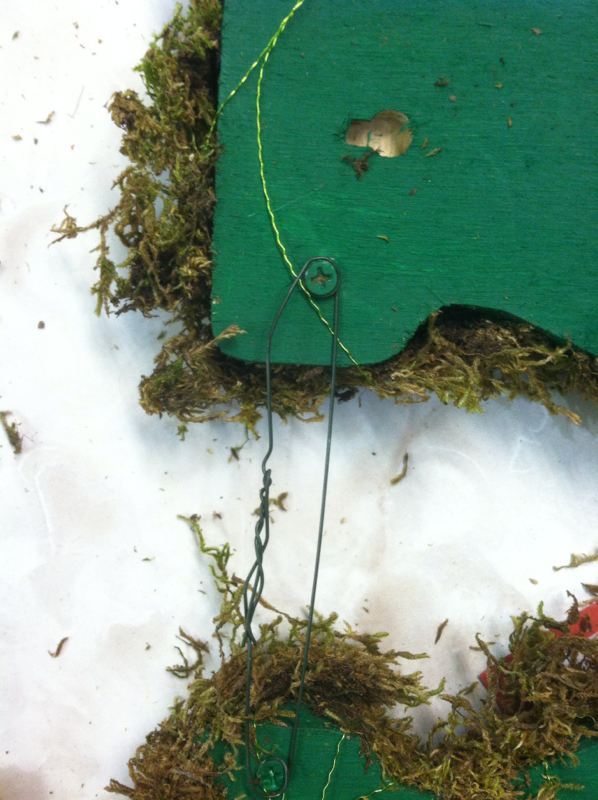
Step Seven
I snaked the final long length of wire from top to bottom, behind the red mesh, so you don't see the wire from the front of the project. I twisted the long wire on to each wire loop that I had made (like on the picture above), so it took some good laying out and measuring of the wire to make sure I had enough to go from the bottom letter to the top, twisting around each loop on the way. Be sure to finish off the tail of the red mesh, I hadn't measured my porch before I started the project, so I left it plenty long so I could cut it later instead of having it too short. Like they always say: Measure twice, cut once! In my case, I measure 3-4 times because I have a tendency to forget! :) I hope you liked this project! Do you think you could tackle this? Email or call the shop at 801-540-5999. I would love to hear your ideas for making the project better! 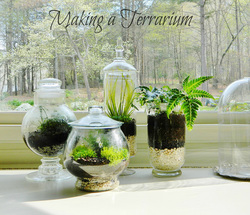 Picture from www.homeologymodernvintage.com I love terrariums and today you aren't stuck with the heavy wooden based, flimsy glass panel numbers from the past. Now you can put a terrarium in any container, which puts you on the cutting edge for style. Besides all that, terrariums are low-maintenance ways to keep plants in your home.
Check out this blog post from {Home-ology} modern vintage blog, where the author lists the easy steps and a recipe for success at creating your own terrarium. |
AuthorAnnie is the owner of Annie's Main Street Floral and the author of "The Final Arrangement," part of the flower shop mystery series. Annie is Immediate Past -President of the Utah Professional Florist Association, a native of Layton Utah, and alumna of Layton High School. Archives
March 2017
Categories
All
|
 RSS Feed